ARKit is awesome and you can easily create some amazing experiences in Unity3d.
But how do you screen record your masterpiece?
How is everyone posting those silky smooth videos?
Well, it’s easy, because iOS 11 has built in screen recording !
And you can also use the microphone to capture audio.
I know you’re using iOS11 because that is the only way to run ARKit.
Two Important Issues as at July 2017
1. Landscape Distortion
The steps below will show you how you *should* be able to record your ARKit applications – but the screen recording in iOS 11 Beta 2 is somewhat buggy and can be very frustrating. So here are the steps I use to get a clean recording:
Firstly, in Unity, lock your application to portrait mode (even if you will rotate your device to landscape to shoot your video – use Portrait mode). If you don’t your video will become distorted and rotated anyway while your app is recorded.
To avoid this ( I did have this in landscape):
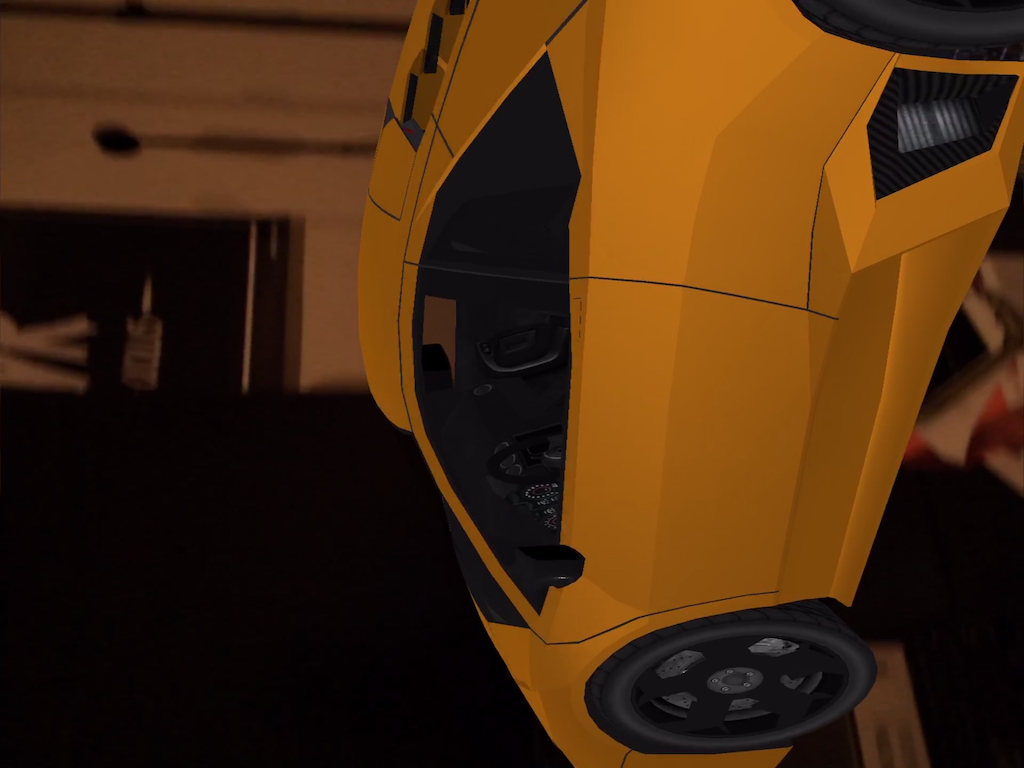
Do this:
When you run your app, just rotate side-ways.
And when you’re video is obviously in portrait, so you’ll need to use a video editor to rotate it.
I use ffmpeg:
$ fmpeg -i in.mov -c:a copy -vcodec libx264 -vf "transpose=2" out.mov
2. Screen recording periodically stops working
For safest results, reboot your iPad before you run your app. So far Screen Recording has been reliable for me on the first run after the reboot (no matter if it says on the screen it is recording – if you press STOP RECORDING and you don’t see the popup message – then it didn’t work!  )
)
Step 1. Add Screen recording to the Control Center
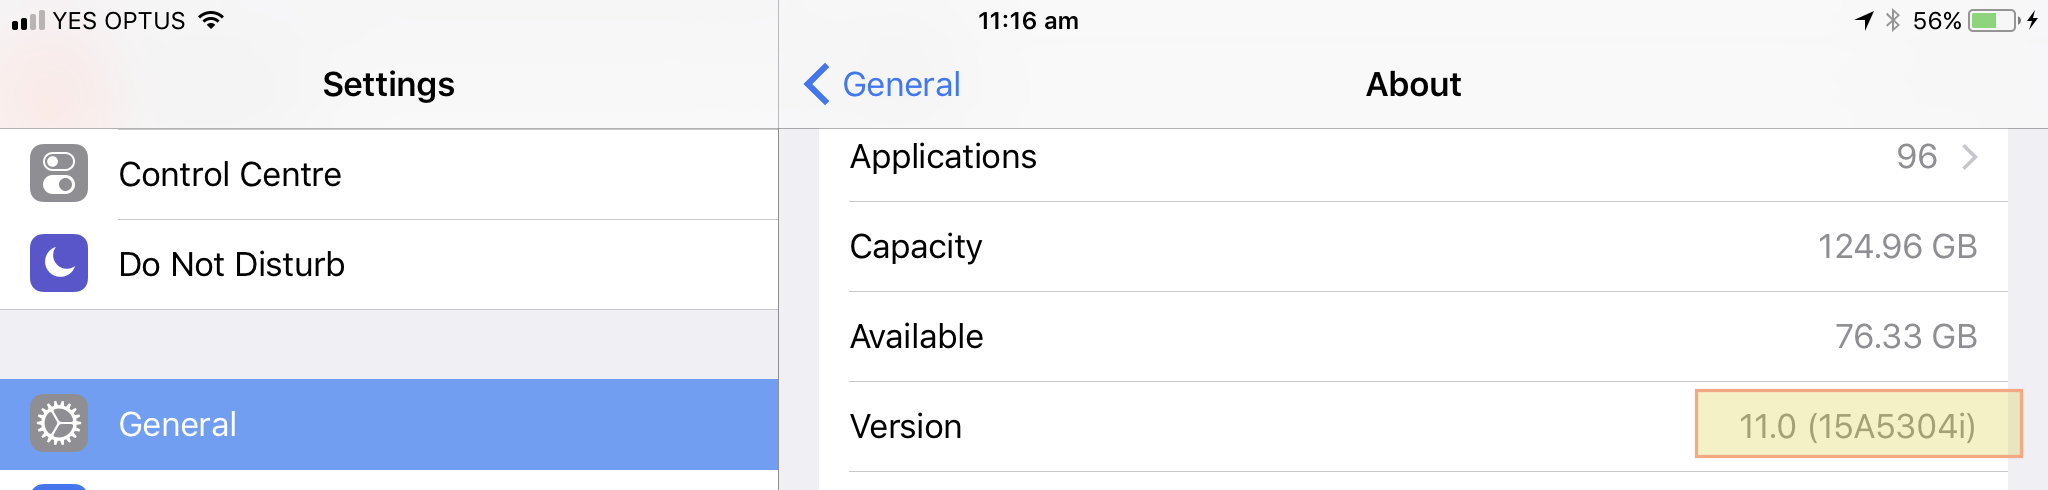
For these instructions I am using iOS 11 Beta 2. My version in iOS Settings About screen shows this:
In IOS 11 beta 2 the control center is accessible by swiping up from the bottom of the screen (as in IOS 10) or double tapping the home button:

That’s the screen recording hilighted there – but it is not there in the default Control Center layout. So you need to add it via Control Center settings configuration.
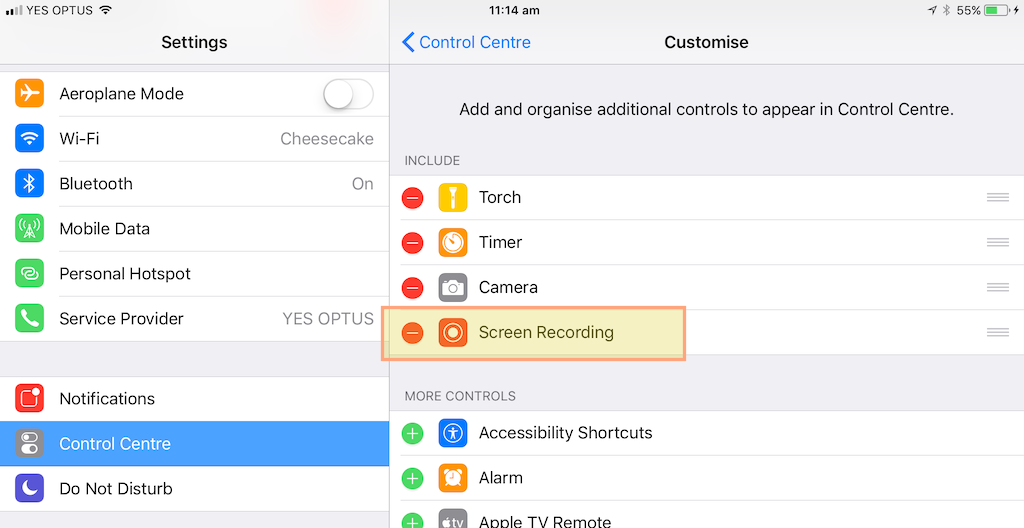
Open up iOS Settings, and choose Control Center, then Customise Controls:

Drag the Screen Recording widget up into the Control Center:
Now, when you open the Control Center you have Screen recording as shown above!
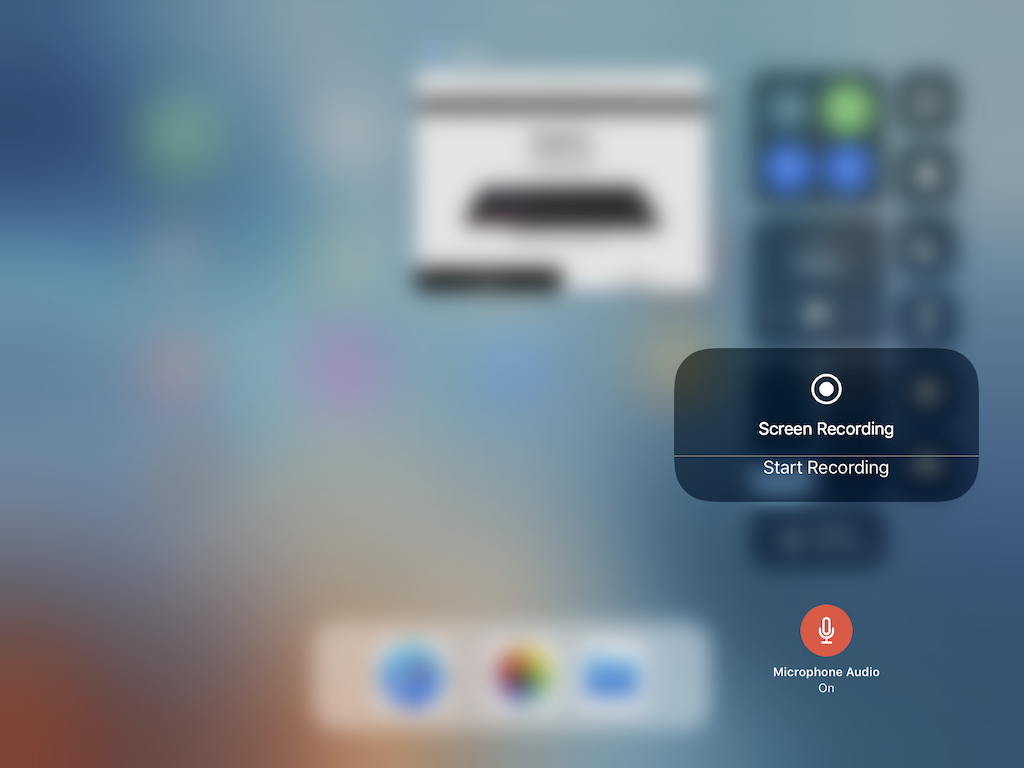
Step 2. Enable or Disable Screen Recording and microphone use:
In the Control Center, force tap or long tap to display the configration.
Enable or disable the microphone.
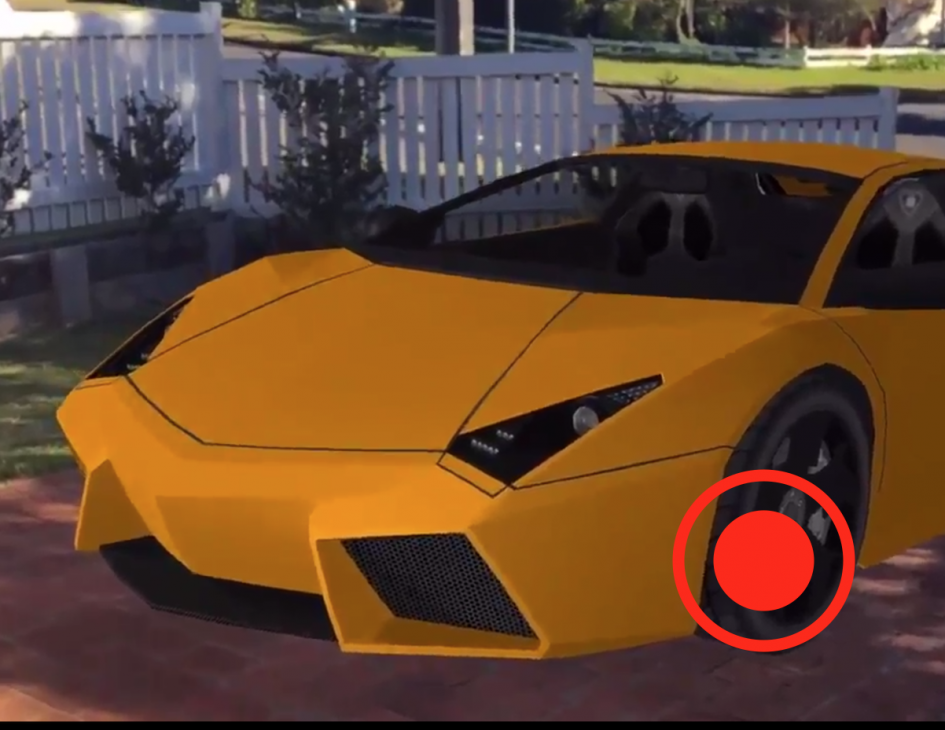
Step 3. Start Recording
OK, so lets record. (It may or may not be obvious – but simply open the control center and press the screen recording button (don’t force press or long press).
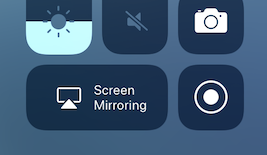
When recording the button will change to red:

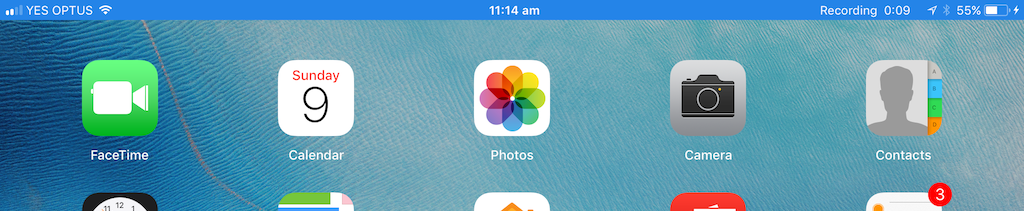
And top of the screen will indicate you are recording (this is not seen in the recording):
Step 4. Stop Recording
When you are ready to finish, re-open the control center and again just press the recording button.
You will get a notification your video is saved to the photos app:

Open the photos app to see your video!
That’s it.
Don’t forget to share your ARKit videos on twitter with #ARKit and #UnityARKitPlugin or submit to MadeWithARKit.com, or any other way to share the AR love.
Leave a Reply