Welcome! What an exciting time for Virtual Reality. Today I’m going to show you how to build your own VR application for the Oculus Rift from scratch!
Whether you are brand new at developing an app – or you are a seasoned veteran – this post is for you. That’s because pretty consistantly every new Oculus runtime and SDK have always had unique steps and weird quirks to get you to the point where you can make apps. And often involve a lot of steps that send you all over the internet to find out how to do it. With this post I am going to walk you through it from the start and you will have a built app at the end of it. Excluding times for downloading, installing and rebooting, you will have a VR app working within minutes.. 
Some good news for DK2 owners: These steps will work with both CV1, DK2, or Gear VR (for those still waiting)
I’m going to show you how to develop an app using Unity3d v5 and Oculus VR.
Your VR Setup:
For this tutorial you will need:
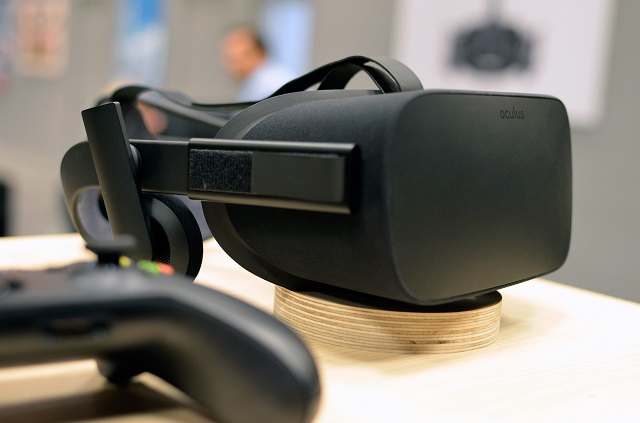
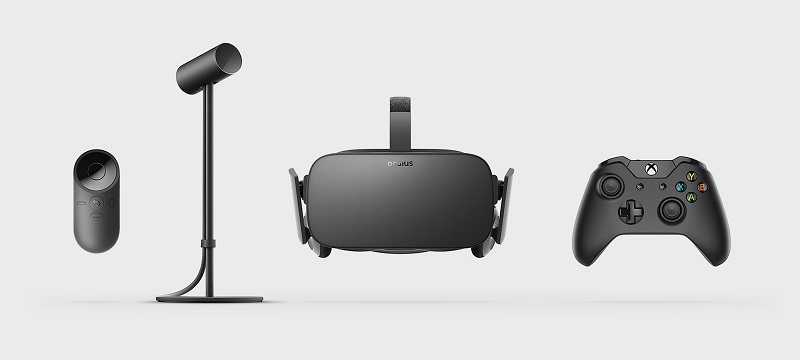
- A VR Headset: Oculus CV1 or DK2.Buy one from Oculus Store, Oculus Ready PCs or ebay.Note: Even though I say this tutorial works with Gear VR – that is not the best system to develop and test with because you still can’t plug a Gear VR directly into the Unity3d to use for interactive testing. So I definitely recommend you have a DK2 or CV1 for this. You can still build your VR app to work on GearVR as well.
- An Oculus Compatible PC.See the Oculus recommended specifications, and you can also download the compatibility checker tool from the same page. If you need to upgrade components, check out NewEgg’s VR page.
Step 1. Remove any previous Oculus Runtime:
(You can skip this step if you have never had Oculus installed on your PC, or you already have installed the current Oculus Runtime 1.3. If you have the ‘Oculus Home” experience, then you have 1.3).
For correct operation you want to make sure any previous runtime is completely removed, in particular Oculus Runtime 0.8 which was widely used in the lead up to the Rift release.
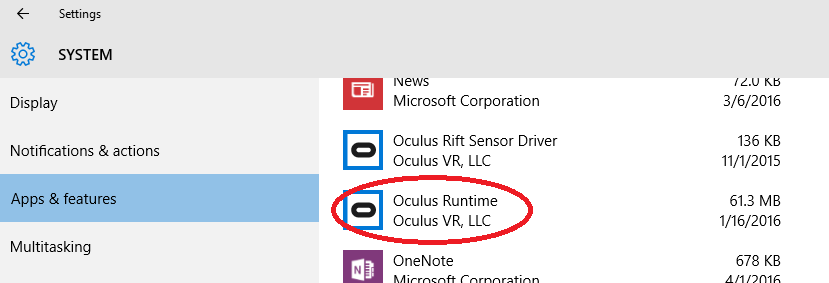
- Uninstall Oculus Runtime:Go to Start->Settings->System->Apps & Features : Click on “Oculus Runtime” and press Uninstall.Note: Uninstalling the Oculus Runtime will also uninstall the sensor
 Follow the prompts to uninstall.
 - IMPORTANT: Make sure you restart your PC before continuing.
Step 2. Setup your Rift
(Like Step 1: You can skip this step if you have never had Oculus installed on your PC, or you already have installed the current Oculus Runtime 1.3. If you have the ‘Oculus Home” experience, then you have 1.3).
Before you can build your own VR applications, you should make sure your Rift is correctly installed and you can play existing applications or games.
Oculus have a well documented installation process here.
However, they key steps are:
- Download and install the Oculus Runtime 1.3
- You most likely need to upgrade your video drivers.
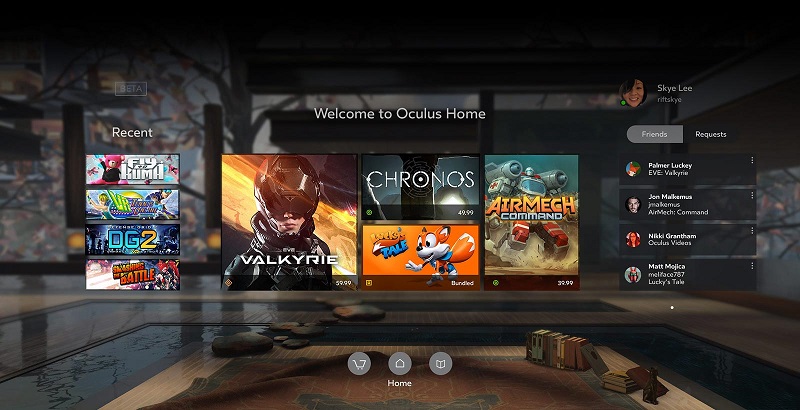
- Test it works with your Rift by running “Oculus Home”:
Step 3. Install and setup Unity 3d
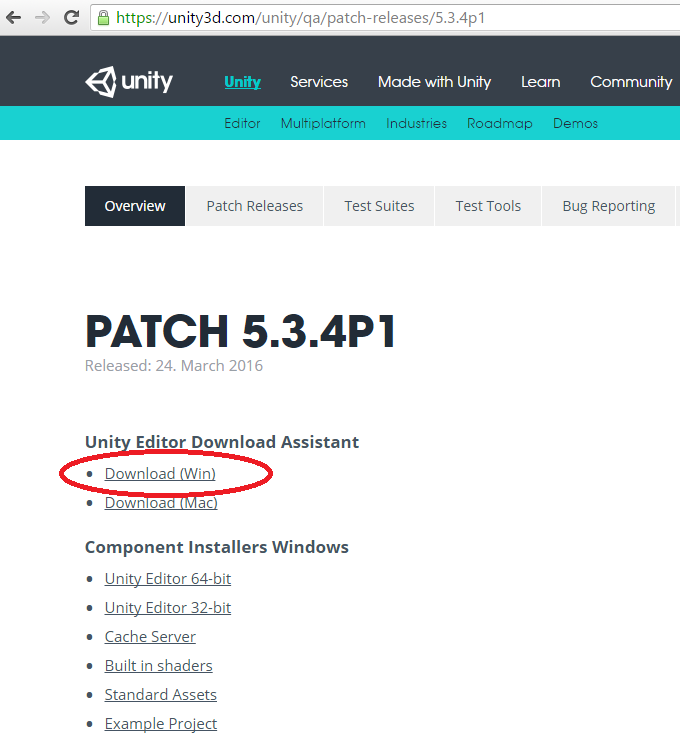
At this time (22 April 2016), the officially recommended version of Unity is a patch build v5.3.4p1.
You can use Unity as the free or professional (licensed) version to create VR. The professsional version allows you to customize the splash screen to remove the Unity logo, and provides more powerful features. For this tutorial I recommend the professional trial version.
By the time you read this that may have changed. To keep up to date with the correct version see the Oculus Forum post Recommended Unity Versions For Development.
- Download and Install Unity v5.3.4p1.
 IMPORTANT: Use the “Unity Editor Download Assistant” so that you can choose to install Windows and Android build support components:
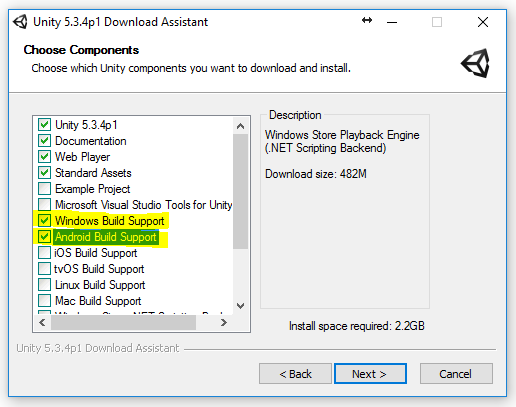
- Patch Unity3d with the latest Oculus pluginDownload Oculus Plugin 1.3.2 for Unity 5 and follow the instructions to patch:
- Close the Unity Editor if it is currently running.
- Navigate to C:\Program Files\Unity\Editor\Data\VR\oculus
- Delete all contents of the directory.
- Extract the OVRPlugin zip, open the folder 5.3\oculus, and copy all of its contents into C:\Program Files\Unity\Editor\Data\VR\oculus.
- (Optional) Download the Oculus Utilities 1.3.2 for Unity 5You can develop Oculus VR apps without the utilities by using only Unity 3d native VR. However, there are a lot of useful features in the Oculus Utilities – such as the OVRPlayerController to quicjly enable your player to walk around using the XBox Controller or keyboard.I recommend downloading this.Once downloaded, unzip ovr_unity_utilities_1.3.2 and copy the OculusUtilities.unitypackage into the Unity standard assets folder: “C:\Program Files\Unity\Editor\Standard Assets”.
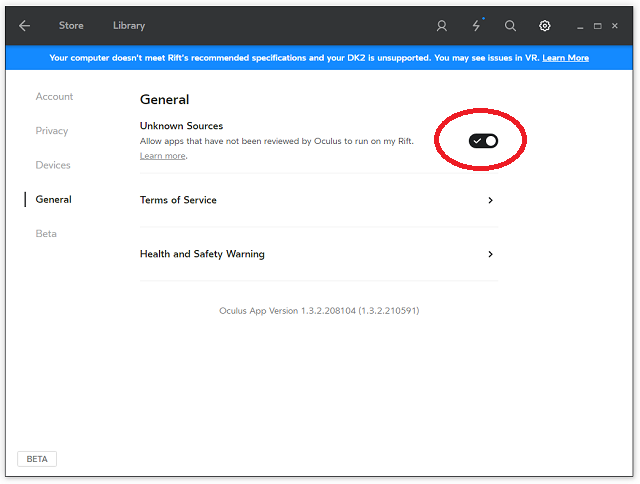
- IMPORTANT: Allow Unity to use the VR headset by enabling “Unknown Sources” in the Oculus Home settings panel. (If you don’t, you will see an error in VR that Unity does not have permission).
Step 4. Create a Unity Project
- Launch Oculus Home (if it isn’t already running)
- Launch Unity3D
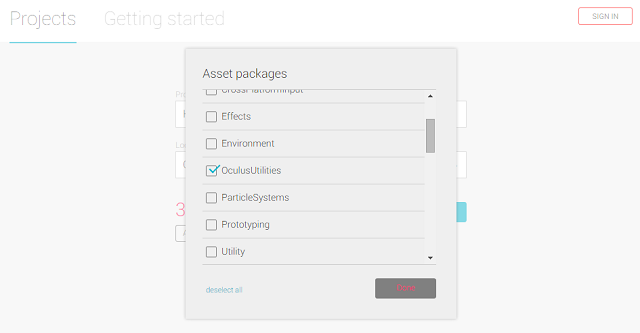
On the launch wizard press [New+] and create a new 3D project (make sure 3D is hilighted in pink):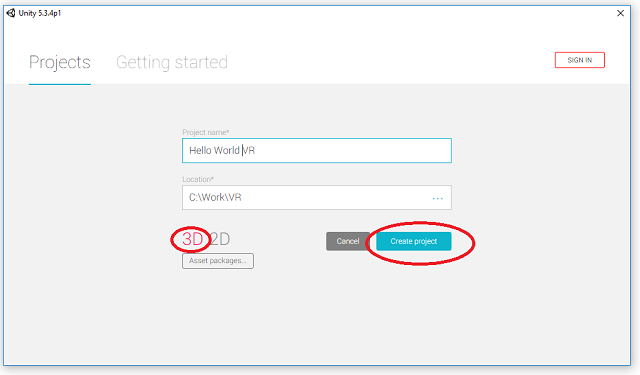 (Optional) if you want to use the Oculus Utilities for Unity, then click [Asset packages…] and select “OculusUtilities”:
Press [Create Project] and you will be in the Unity Editor:
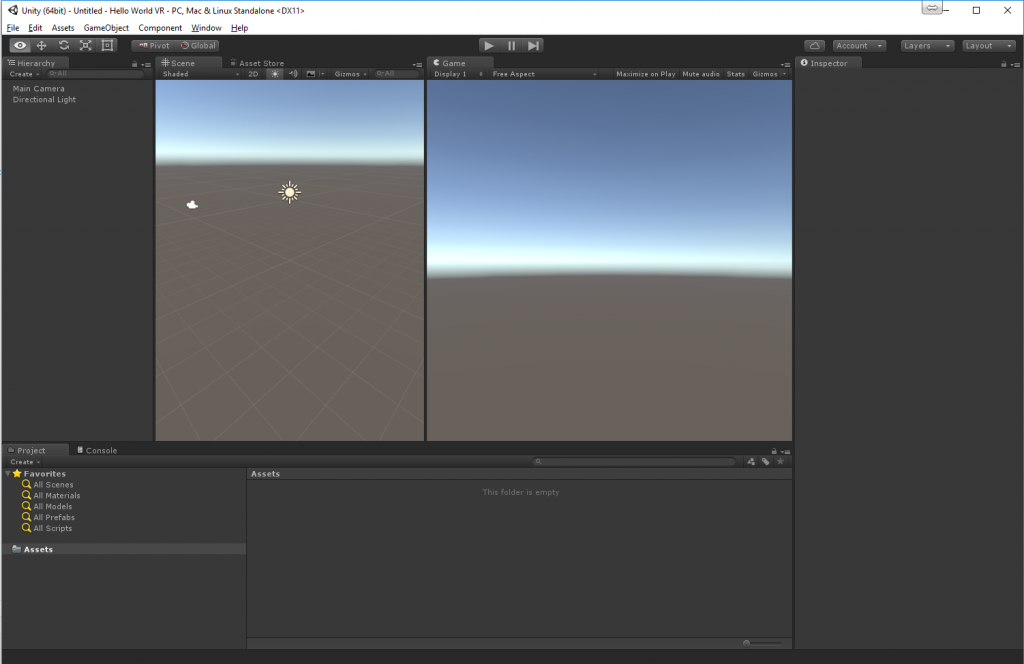
- Create a new project scene: File -> “New Scene”, then File -> “Save Scene As …” and name it “main”
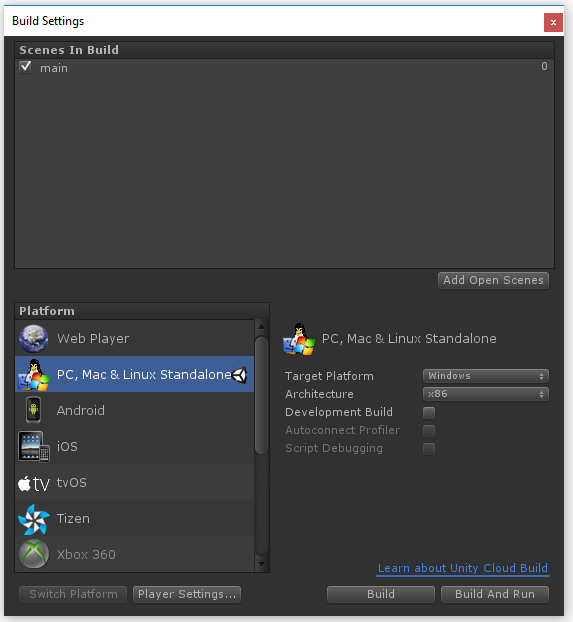
- Add the scene to your build settings: File -> “Build Settings” and press [Add Open Scenes] to add “main” to your project:
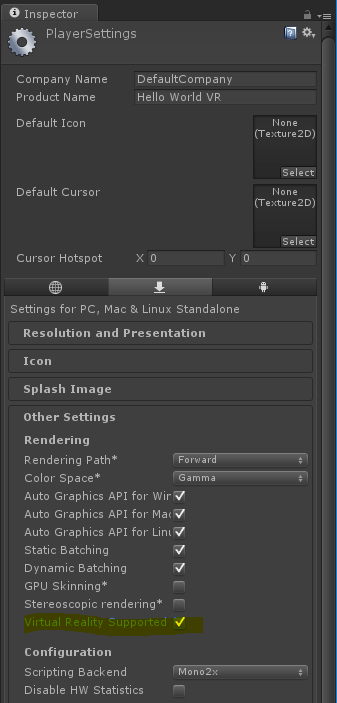
- Set your project to support VR mode by opening [Player Settings…] button, and checkmark “Virtual Reality Supported”:
- Create some content by adding a plain old cube into the scene. Right click in the Hierarchy window panel and select “3D Object->Cube”, and you will see a cube appear in the scene and game windows:
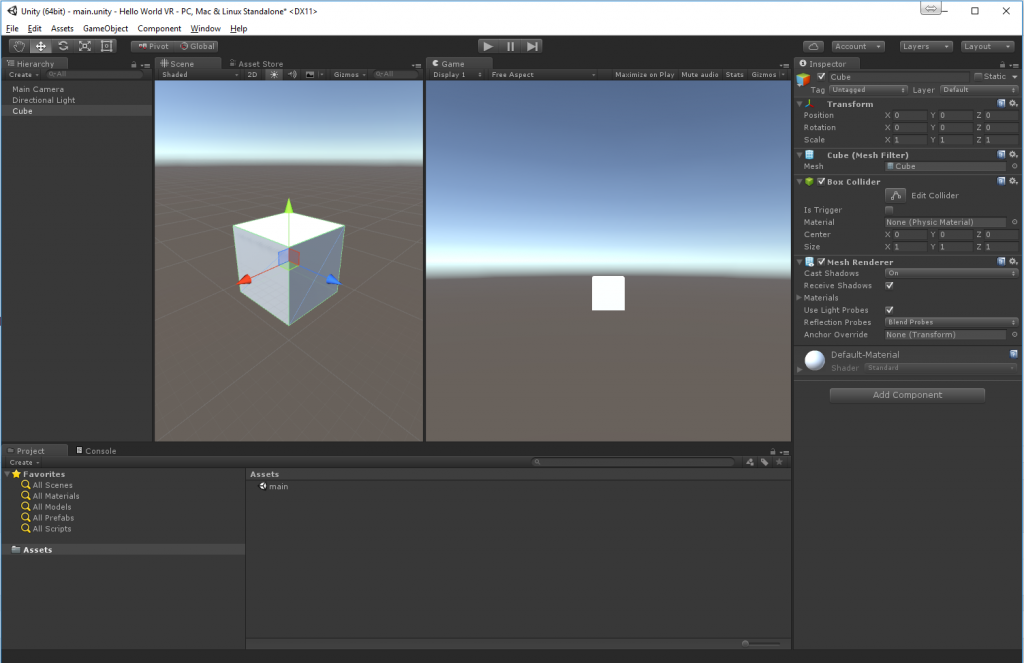
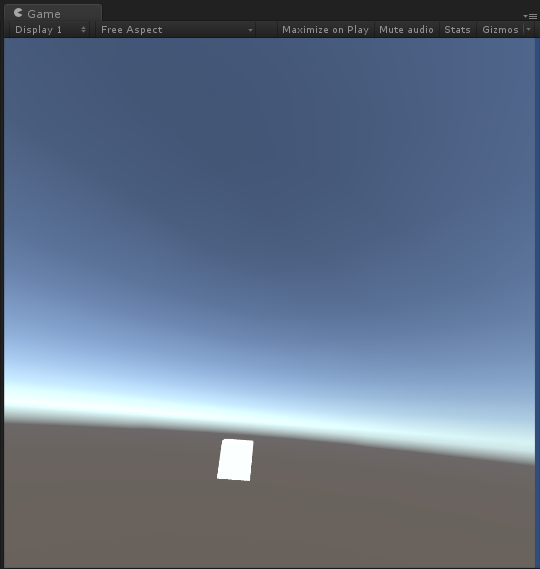
Note: Press File->Save (CTRL-S) to save this change (in case Unity crashes). - That’s it! To test this in VR, press the PLAY button (above the game window). The game window will show you what the player is seeing. Try and move your Rift around and the tracking will alter the game view:
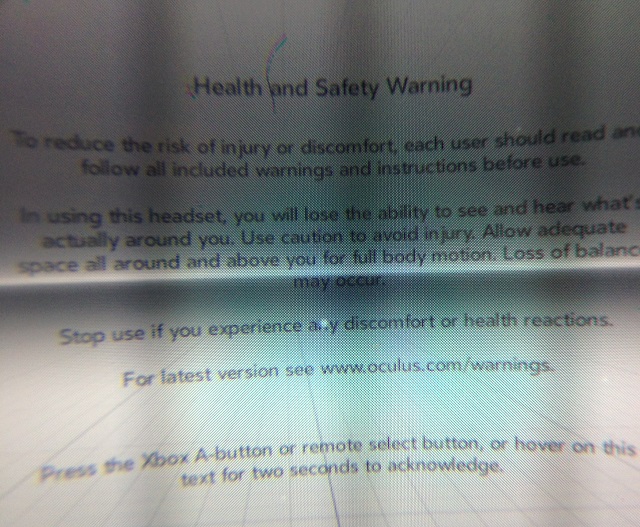
- Now look through the CV1/DK2 headset and you will see a Health & Safety Warning. Follow the instructions to dismiss it (press XBox A-Button, Press Select on the Oculus Remote, or Hover the cursor over the text to dismiss it):
 Now, you will find you are seeing your cube !!Note: At this stage there is no way to disable the Health & Safety Warning for developers (which was previously possible). Hopefully Oculus will add that option in the future.
 - Press the now Blue PLAY Button again to STOP and return to edit mode (Any edits you make while playing are lost when you stop). Looking through the VR headset now you will see black. Experiment by adding other objects to the scene and pressing PLAY again.You will see your new changes in VR.
Well done! Although this is very basic – it is a real VR app !
Step 5. Building your app to share
The last step is to export your app as a build that can be shared around without the Unity 3d editor.
- Open Build Settings again (File->”Build Settings”) and press [Build]. Save your build as “HelloWorldVR.exe”.
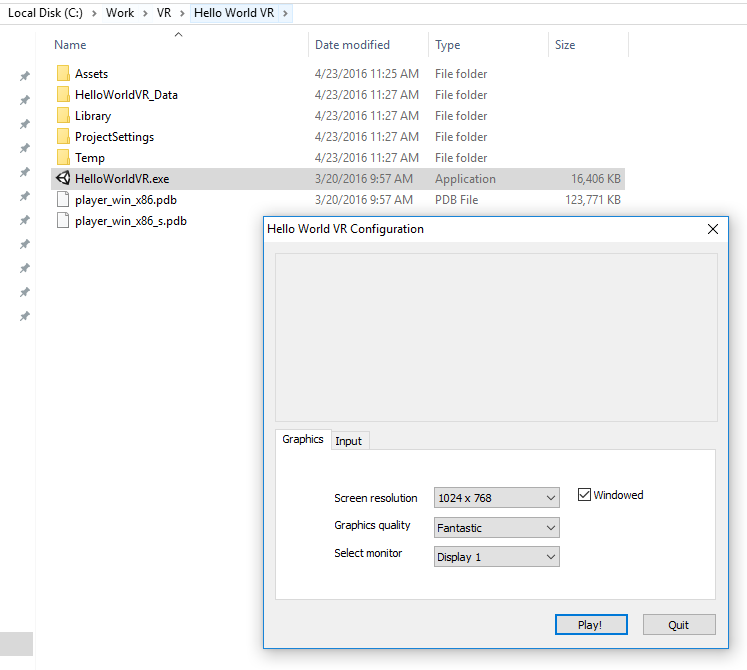
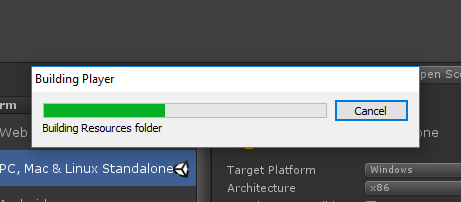 Once built it will open up the location in file explorer.
 - Click on “HelloWorldVR.exe” to run the app (checkmark “Windowed” to make it easy to quit):
That’s it !! You’ll see the Unity Splash screen, and finally be in your game (Note: In the VR Headset you’ll have to dismiss the Health & Safety Warning):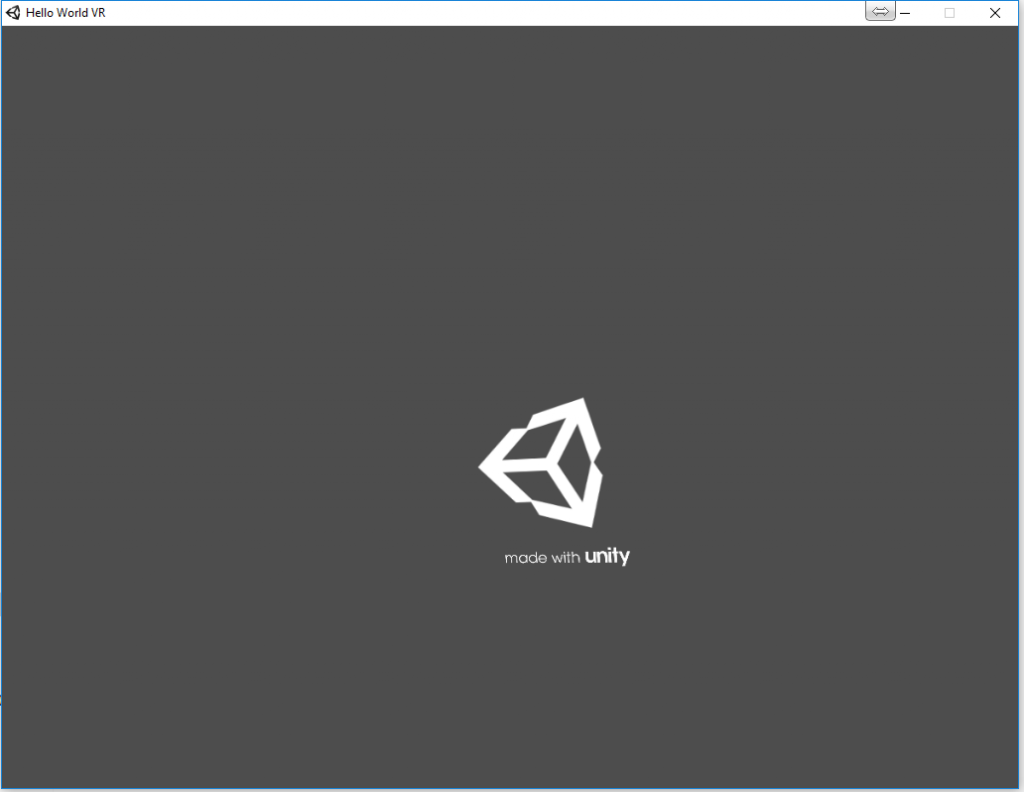


And that’s it. To share this, zip up the HelloWorldVR.exe and HelloWorldVR_Data folder, and you can send it to others to play!
Next Steps
You now have everything you need to get started on your VR app journey.
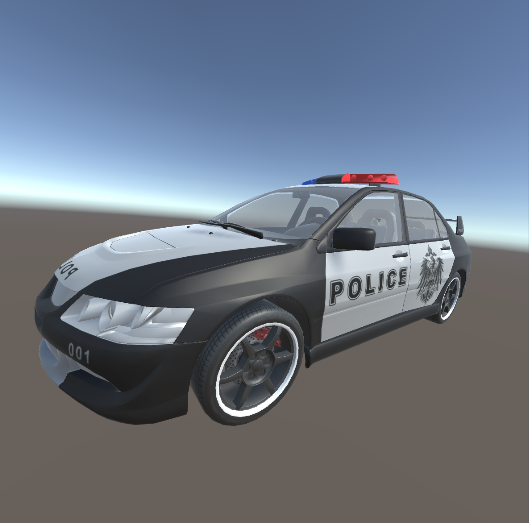
If you are interested in 3D, download an FBX formatted 3D model from a site like http://turbosquid.com. A FBX file typically includes model geometry, textures and materials, and can be imported easily by Unity 3d.
Eg: Here’s a free vehicle on Turbo Squid:
http://www.turbosquid.com/3d-models/mitsubishi-lancer-evolution-ix-3d-model/541310

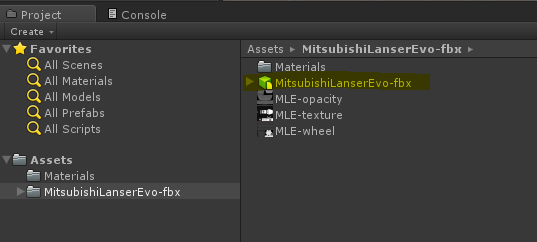
Download the FBX zip file, and extract it. Then drag the MitsubishiLanserEvo-fbx into Unity (into the project Assets window panel).
Unity will import the model and once done you will have a MitsubishiLanserEvo-fbx/MitsubishiLanserEvo-fbx prefab (which has a blue cube icon next to it):
Simply drag the prefab into the Hierarchy window panel to add it to the scene at position (0,0,0):
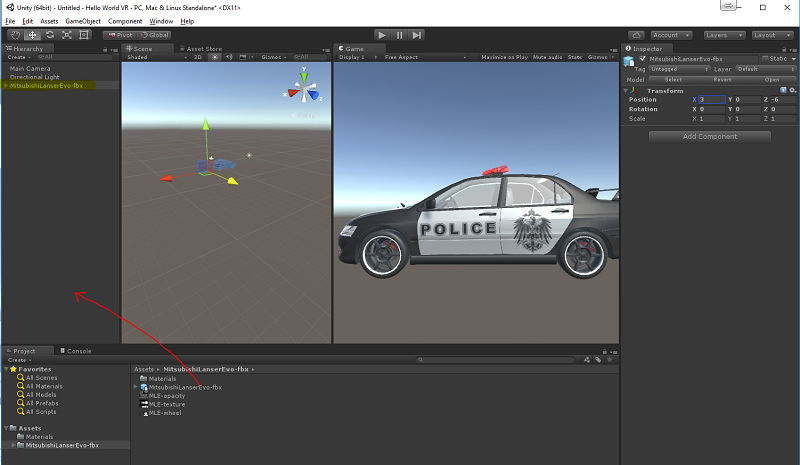
Now press PLAY and you can see the vehicle:
 Good luck!
Send me any comments and feedback.
April 29, 2016 at 1:02 pm
Another great tutorial Peter. I’m about to upgrade my PC so will use this, as I’ve not developed with Oculus Rift yet, and outputting for the Gear VR is really annoying.
May 18, 2016 at 1:16 am
Awesome tutorial, I was having trouble building to Unity, but following this exactly worked perfectly!
June 6, 2016 at 6:16 am
I am having trouble with raycasting with gear vr and unity 3d very 5. Do you have any tutorials that I could look at?
June 28, 2016 at 9:49 pm
One of the most exciting parts of being a developer is being able to build your own tool or game and then experience it for yourself for the first time. But creating a mobile game or a productivity tool pales in comparison to the excitement you feel when you actually get to slip on a headset and
July 26, 2016 at 4:03 am
Hey Peter,
This tutorial is better than any other available on the internet and even better than what Unity provides. I am into developing a VR app, ( I started off with this article —> https://appreal-vr.com/blog/how-to-develop-a-successful-vr-application/ ) and right now I am working on the graphics with some professionals as I believe the Visual aspect is an important part of the any VR app. The journey from start to where I am now has been amazing and I think from here onwards, its gonna be ever more awesome.
To anyone who is starting to work on the project, There’s a lot of hardwork coming your way. Do your Best! Wish you Luck.
Great Article again!
Thanks.